Hi all!
I have a new tutorial for you all! Today, I would like to show you how to create a water card. It is an easy technique and is especially attractive to children.
Supplies.
Robyn's Fetish image Starfish on a Rock
Robyn's Fetish image Miss Goldie
Blue shower gel, hair gel or shampoo
Small Ziplock bag
Plastic spoon
Strong double sided tape
Any coloring medium of your choice (I used Copic Markers)
Ruler
Any materials you need to finish your card
Color your image like you want to and trim it down. It has to be a little bit narrower than the width of your ziplock bag.
Squirt a little bit of liquid in the ziplock bag; about a teaspoon is enough.
Put strong double sided tape on the bottom and both sides of the back of the image.
Take a ruler and press all of the liquid upwards, for about 1/4 inch. The empty part will be adhered to the image.
Adhere the bottom of the ziplock bag to the bottom back of your colored image
While adhering my ziplock bag, I found there was too much liquid in it, so I took a plastic spoon, and took some out.
Press the liquid down and fold over the top of the ziplock bag over your image panel.
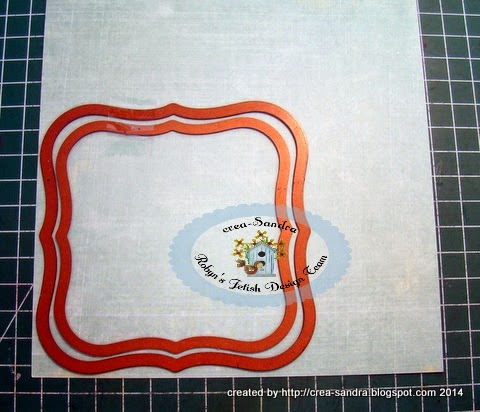
Cut a frame that is about the same size of your image panel. I decided I wanted to have this frame, but you can also cut one by hand.
Adhere it on top of the ziplock bag
If there are parts of the ziplock bag peeking out underneath the frame, you can adhere it down on the back so that you can't see it anymore. Now your waterpiece is finished and you can assemble the rest of your card.
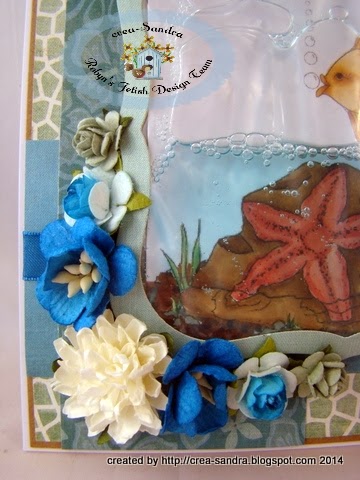
And here is my finished card and some close-up pictures.
This was it for today, I hope you like it and will give it a try!
Hugs,
Sandra


1 opmerking:
Hi Sandra, just left you a note on the blog but wondering how the colours stay after a while do they fade as I 'd love to give this a go.xxx
The Journey is the Start
Een reactie posten